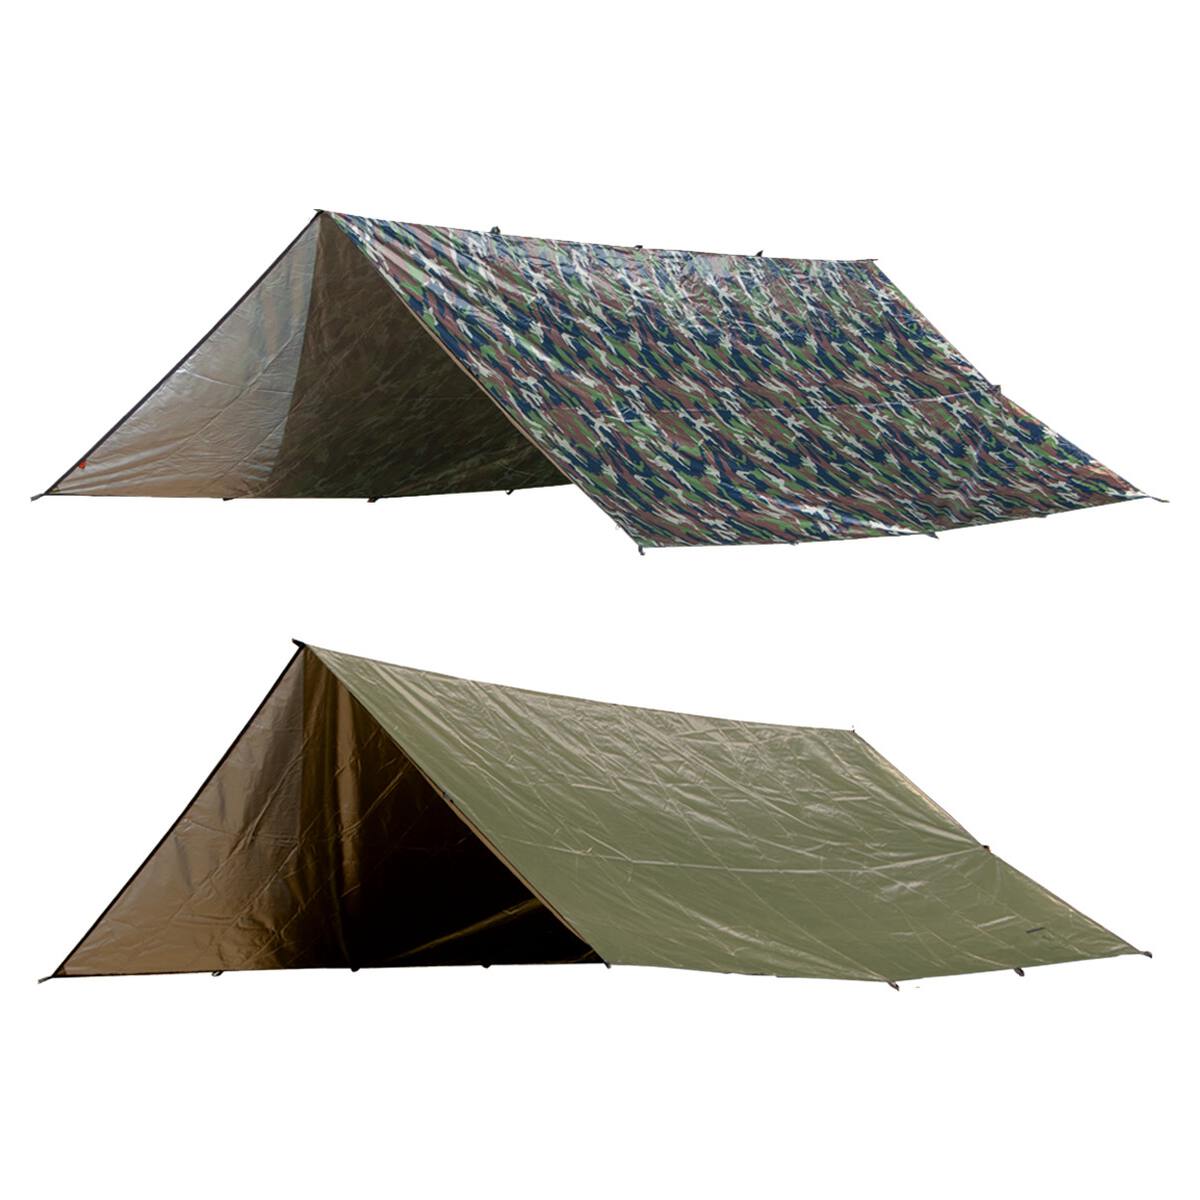
Embracing Tarpology: Essential Knots For Camping Tarps

Learning how to tarp has changed my camping life. Tarping skills is right up there, in my mind, with fire-lighting skills in importance.
Where I live, in the Pacific Northwest, it rains pretty much non-stop from November to March. Sometimes in the darkest and rainiest days of our winters, I can’t remember what it’s like to step outside and not squint into rain drops, or shiver from the damp cold.
To successfully survive in the Pacific Northwest, one must learn to embrace the wet. As I’ve heard others say before, "There’s no such thing as bad weather, only inappropriate clothing."
And that applies to camping gear too. If you’re not prepared to be outdoors in the rain here, you may as well board yourself up in your home all winter long.
In wet weather, a reliable tarp goes a long way, as does knowing how to use it!

It all starts with knowing a few key knots.
If you can commit to learning just a few, it will make all the difference!
Knots to Know
1. Larks Head Knot
A quick, easy way to attach cordage to a tarp tie-out. (Note: This method only works for fabric tie-outs and not metal grommets, as the cordage won’t be able to pinch onto itself to lock off)
2. Taut Line Hitch Knot - AKA "The Best Knot Ever"
This knot allows you to keep adjusting tension on your tarp without having to undo and re-tie as you continue to adjust your other corners.
Clove Hitch Knot
An easy way to attach cordage to a tarp pole or tent stake.
Tarping Principles
Now here are 2 tarping principles I wish I knew when I first started:
1. Make your tarp as taut as possible to avoid rainwater pooling. Pooling leads to sagging, which leads to even more pooling. Believe me, I’ve had rooftop swimming pools on top of my tarps before!
The first step to getting your tarp nice and taut is making sure that you pull out your tarp tie-outs at the correct angle, to ensure the tarp is pulled out as flat as possible. This means the tarp tie-outs should be pointing straight out from each corner. If you have the tie-outs pulled too much off-center, you’ll get the sagging. Then the pooling. Then more sagging! Followed by? You guessed it! More pooling!

2. Always plan an escape route for the rain landing on your tarp. No matter how taut you think you’ve made your tarp, unless you purposefully plan for where the water will drain, it will pool on your tarp. And inevitably find a way to drain in the least convenient spot - like dousing your campfire, or surprising you with a cold shower as you step out from your shelter.
To plan for this, you have to drop one corner or side of your tarp significantly to force the rain landing on your tarp to run off it. Plan for this to be away from what needs to stay dry, and preferably where there is good drainage. For example, if you’re on a hill, make sure your run-off is running down the hill and away from you.

There's no point having an ultra waterproof, high-quality tarp if you're unable to set it up properly when it really counts - when the wind is driving the rain sideways and you're cranky, wet, and cold. You'll find that once you're comfortable with these basics, you can do just about anything with a tarp, and then the rainy world is your oyster!

The Canadian Outdoor Equipment stocks only the best camping tarps made of silicon coated nylon, making them light weight and strong.


